Flows: operating a published flow
After building a flow, a developer must publish it, test it, inspect observability, configure inputs, and jump into Evaluation Lab. This scenario shows where these actions live in the editor.
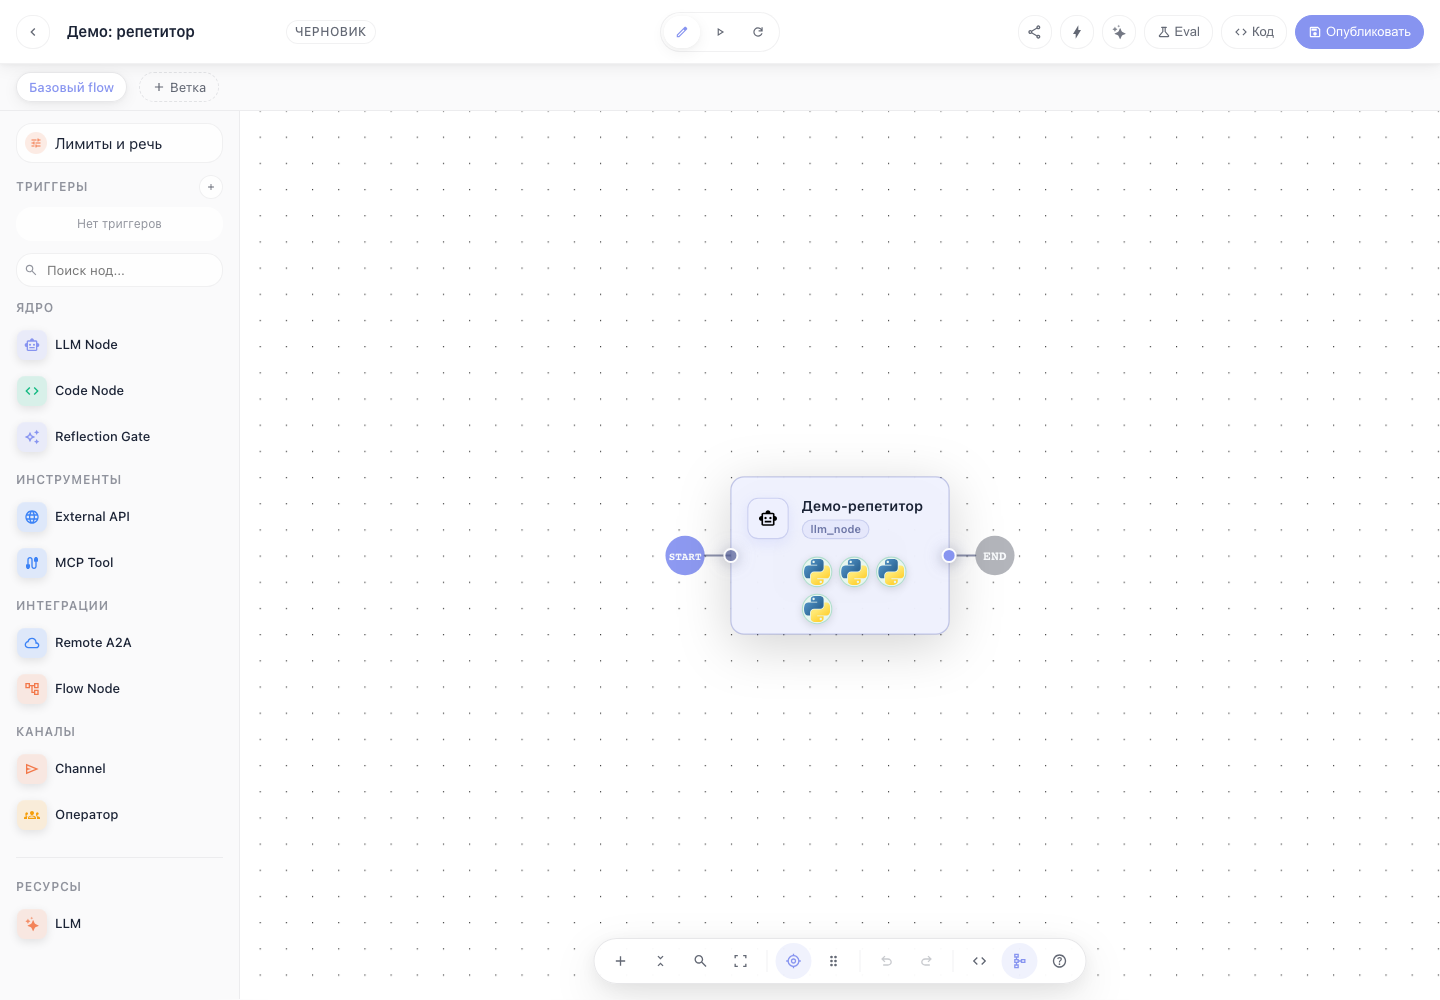
Step 1. Open the flow editor
Open a route such as /flows/<flow_id>/editor. The header shows draft state, run, reload, preview-share, triggers, Lara, Evaluation Lab, Code, and Publish.
Step 2. Publish changes
After changing the graph, click Publish. The published version is used by user chat, preview-share, external triggers, and evaluation runs.
Step 3. Verify runtime before release
Before publishing, use:
- Run — quick execution of the current graph.
- Share preview — guest preview for manual checks without console access.
- Triggers — incoming channels: Telegram, cron, webhook, email, Redis.
- Code — open the flow code surface.
- Lara — ask the AI helper to explain a node, graph, or error.
Step 4. Open Evaluation Lab
The Eval button opens the full-screen route-backed Evaluation Lab for the current flow/branch. It manages suites/cases, TaskIQ evaluation runs, matrix/transcript/trace views, and baseline comparison.
Step 5. Diagnose behavior
From chat or trace modal, open:
- Traces — spans, tool calls, and task-level trace.
- Logs — server-side logs by session, trace, request, span, or user.
- Durable history — append-only ledger, state projection, fork, rewind, retry, and patch-state.
What was missing before
The documentation already covered creating flows, adding an LLM node, editing, and Evaluation Lab. It missed the operational scenario that connects publish, preview, triggers, observability, durable history, and evaluation into one daily workflow.