Sync: complete service guide
A long walkthrough of the main Sync workflow: space, channel, messages, mentions, attachments, message menu, pins, threads, channel settings, member profile, and real realtime updates.
Step 1. Sync opened with the company chat list
On the first screen, check three interface areas:
- on the left are the chat list, search, and search scope switch;
- above the list are the Sync settings gear and the meeting button;
- in the center are channel cards you have access to.
Sync has no namespace switcher: you see all chats by membership. Transcription defaults live on the company workspace default.
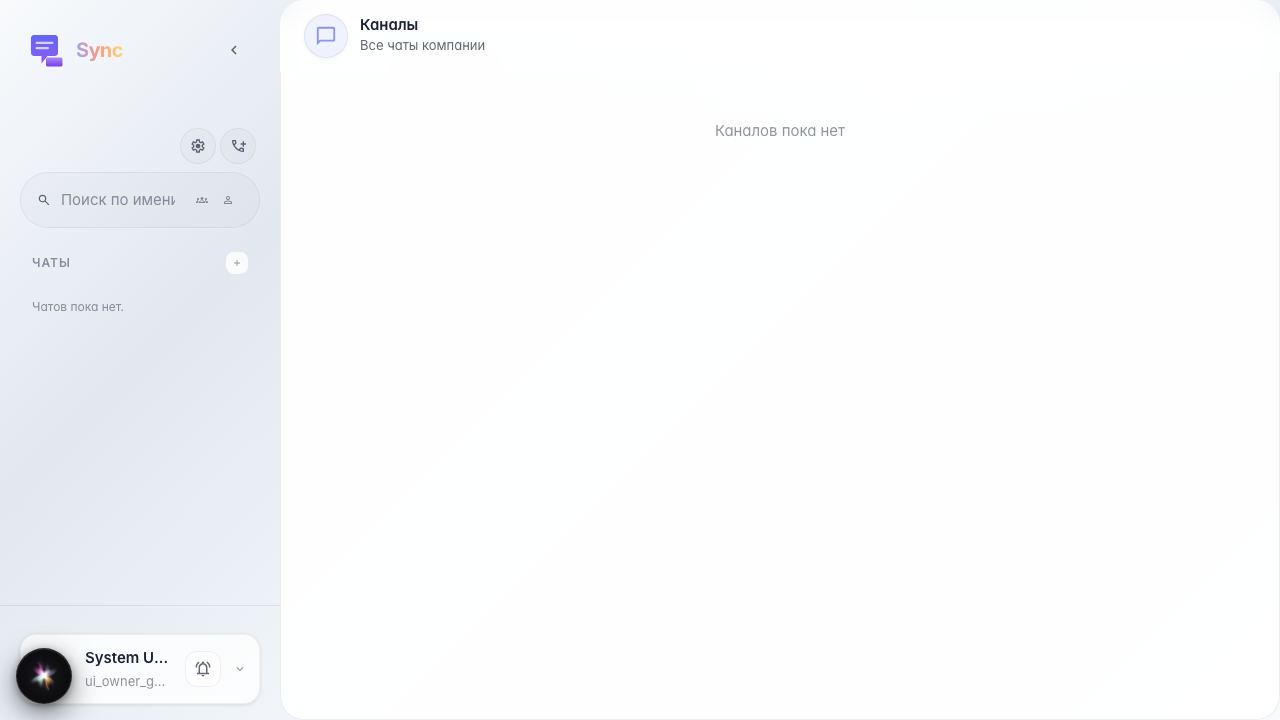
Step 2. Company Sync defaults opened
The gear in the chat list header opens Sync settings for the company workspace default (it does not create or switch namespaces).
- «Auto-transcribe voice messages» enables STT for new voice messages in company channels by default.
- «Speech from calls into the feed» publishes speech segments from call participants into the channel feed when the backend and LiveKit egress are configured.
These values act as company defaults; a specific channel can override them in channel settings.
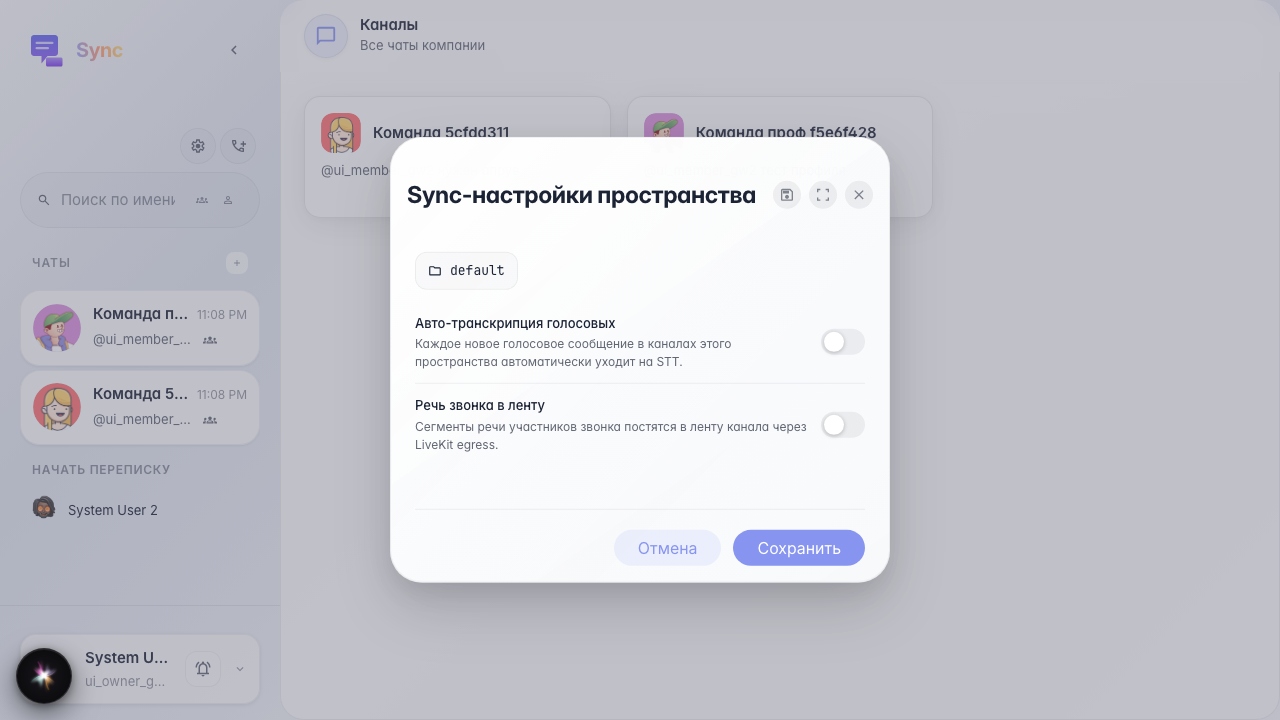
Step 3. Channel creation form opened
A channel is the main working unit in Sync. The form includes:
- «Name» — the human-readable channel name in the sidebar and cards;
- «Members» — colleagues you can add to the channel right away;
- «Private channel» — access only for invited users;
- «Auto-transcribe voice messages» — STT for voice messages in this channel;
- «Speech from calls into the feed» — publish speech from calls directly into the chat.
If flags are enabled on both the space and the channel, the final channel behavior is visible to the user without calling the API.
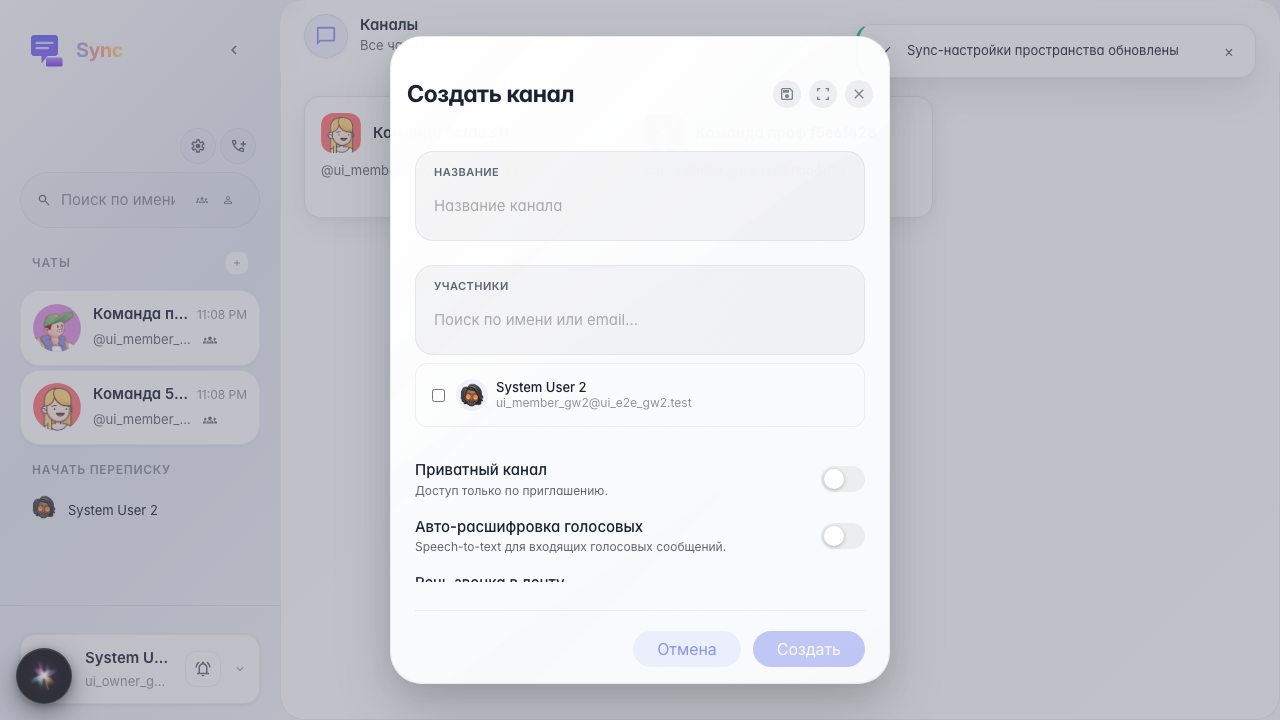
Step 4. Channel name and options filled in
Before creating a channel it helps to enable the needed flags right away. That way the team will not hunt for these settings after the first call or after the first voice message.
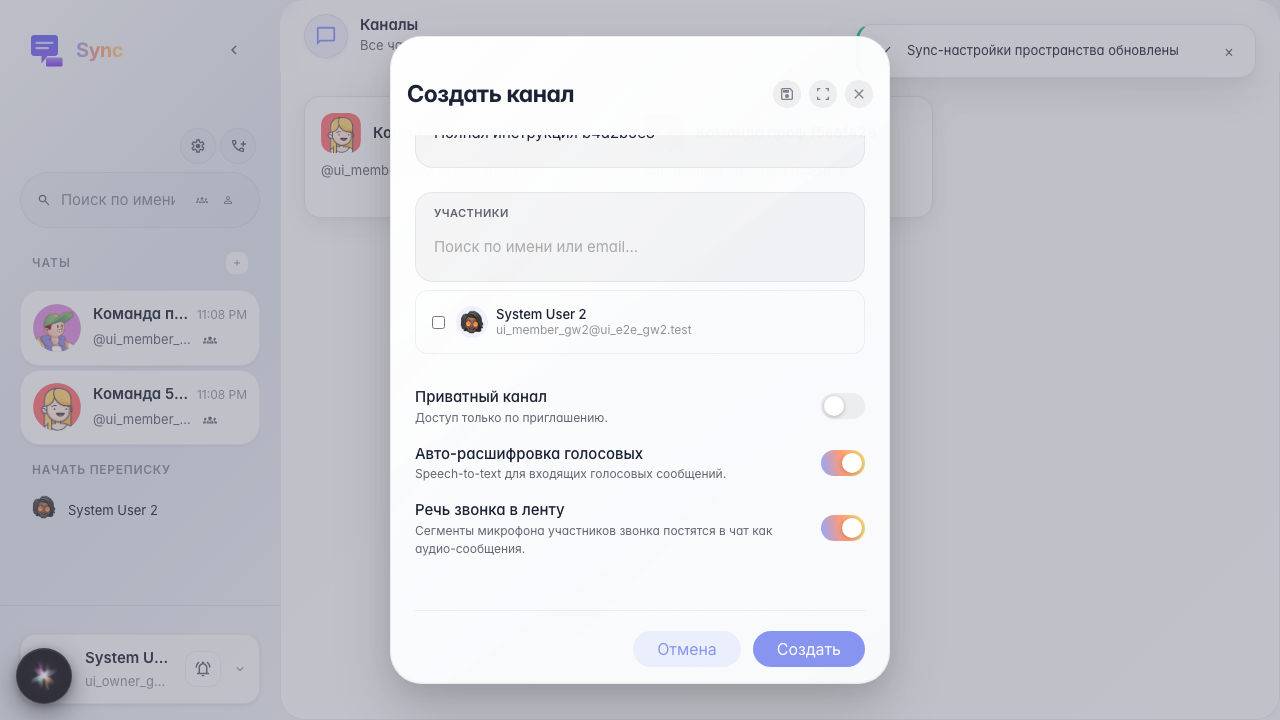
Step 5. Channel created and opened
An open channel consists of a header, feed, and composer.
- The header shows the avatar, name, subtitle, call, video, settings buttons, and a menu of extra actions.
- The feed shows messages, dates, delivery status, reactions, and pins.
- The composer at the bottom sends text, files, voice messages, mentions, and thread replies.

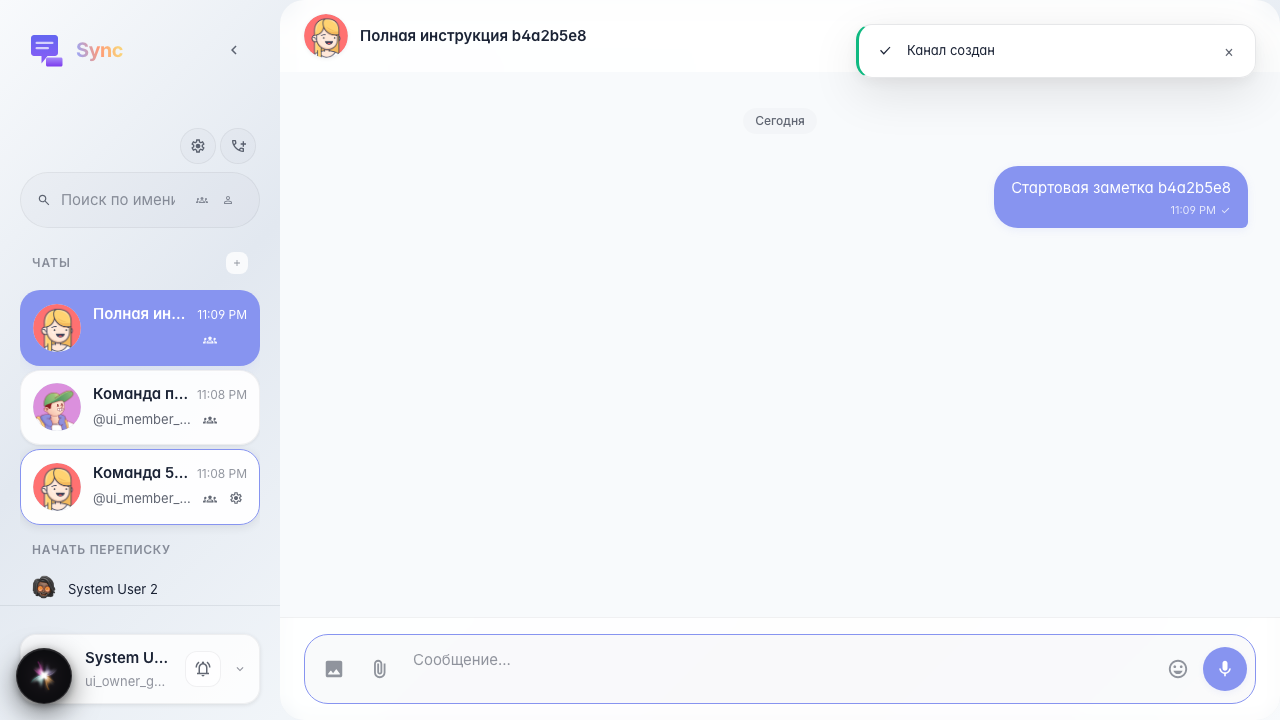
Step 6. First message sent
A text message goes through a Sync realtime command and appears in the feed right away. For the user it is a normal chat, but technically the event also updates the channel preview, last message date, and unread state for other members.
Step 7. Mention popup opened
A mention starts with @. The popup searches company members, and after selection inserts the technical user_id. In the feed the user sees a normal name because Sync resolves the id through the company member list.
Mentions matter beyond visuals: the backend validates the channel member and sends a separate mention notification.

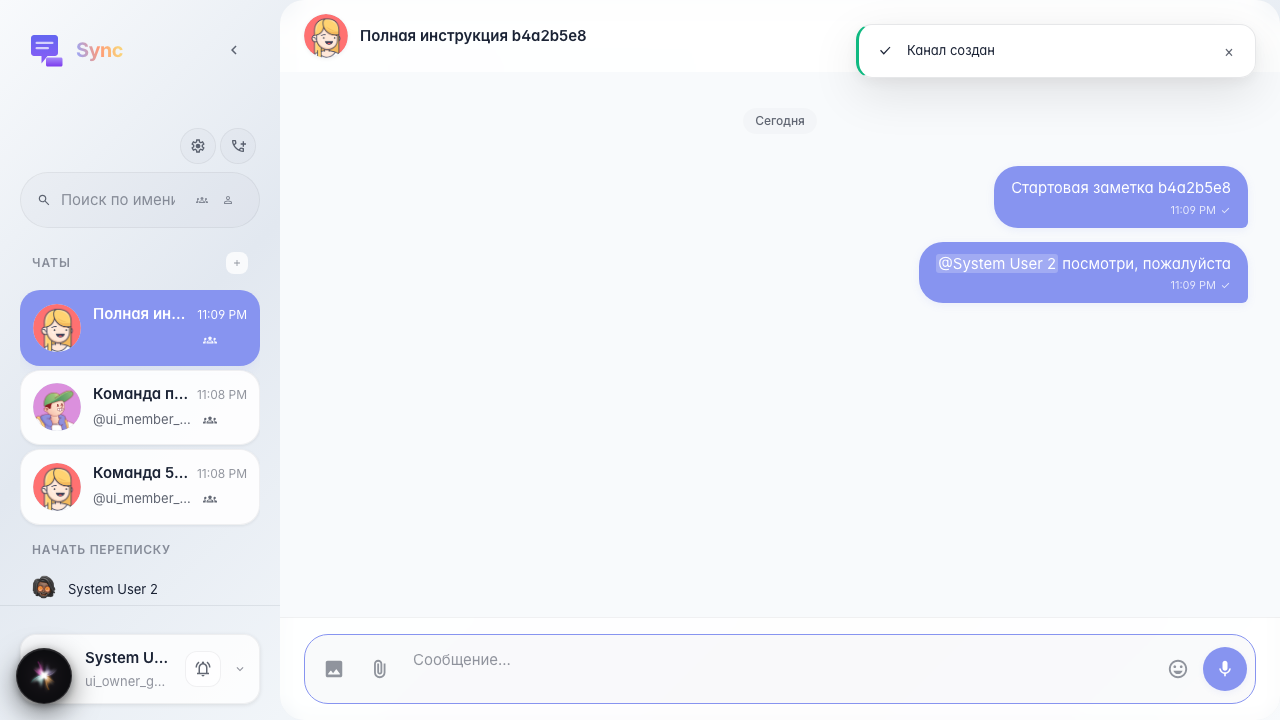
Step 8. Message with mention appeared in the feed
After sending, the mention looks like a person's name, not @user_id. Clicking that name opens the profile card and shared channels.
Step 9. Message with image sent
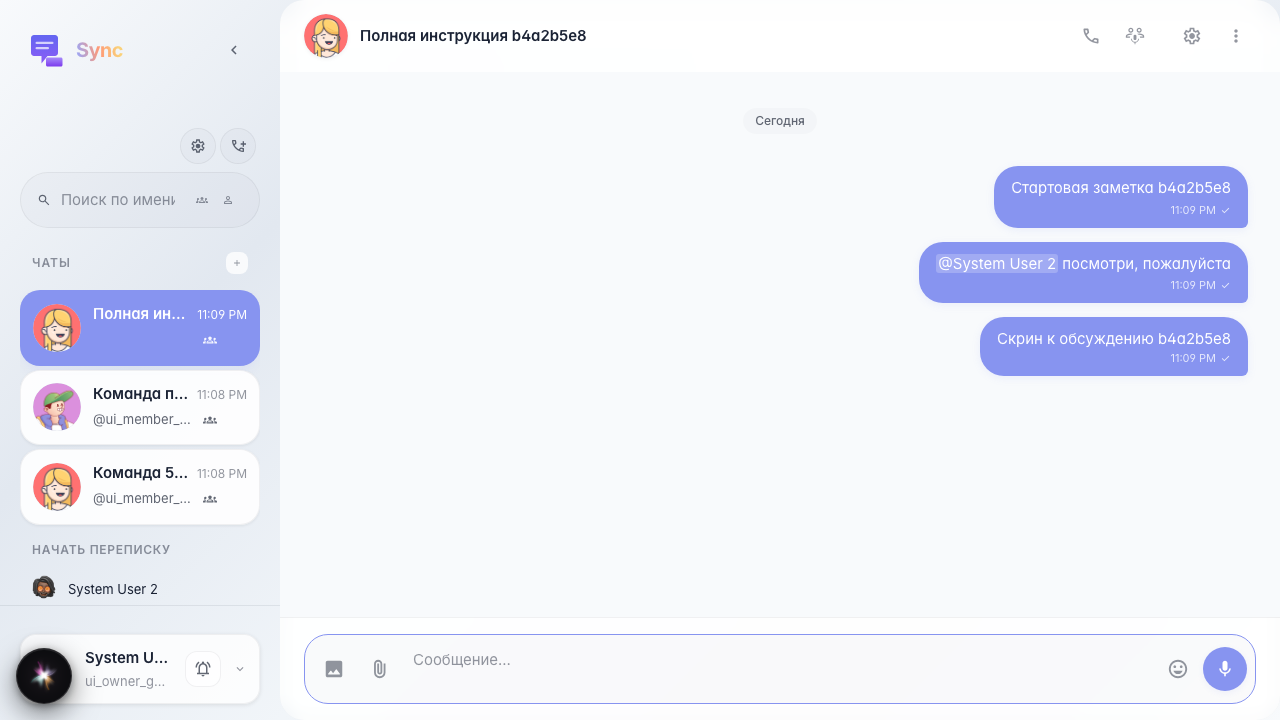
The attachment button uploads the file to the file backend and adds it to the message as a content block. Sync shows a preview for images and a file row with download for documents. The message caption remains a normal text block.
Step 10. Message menu opened
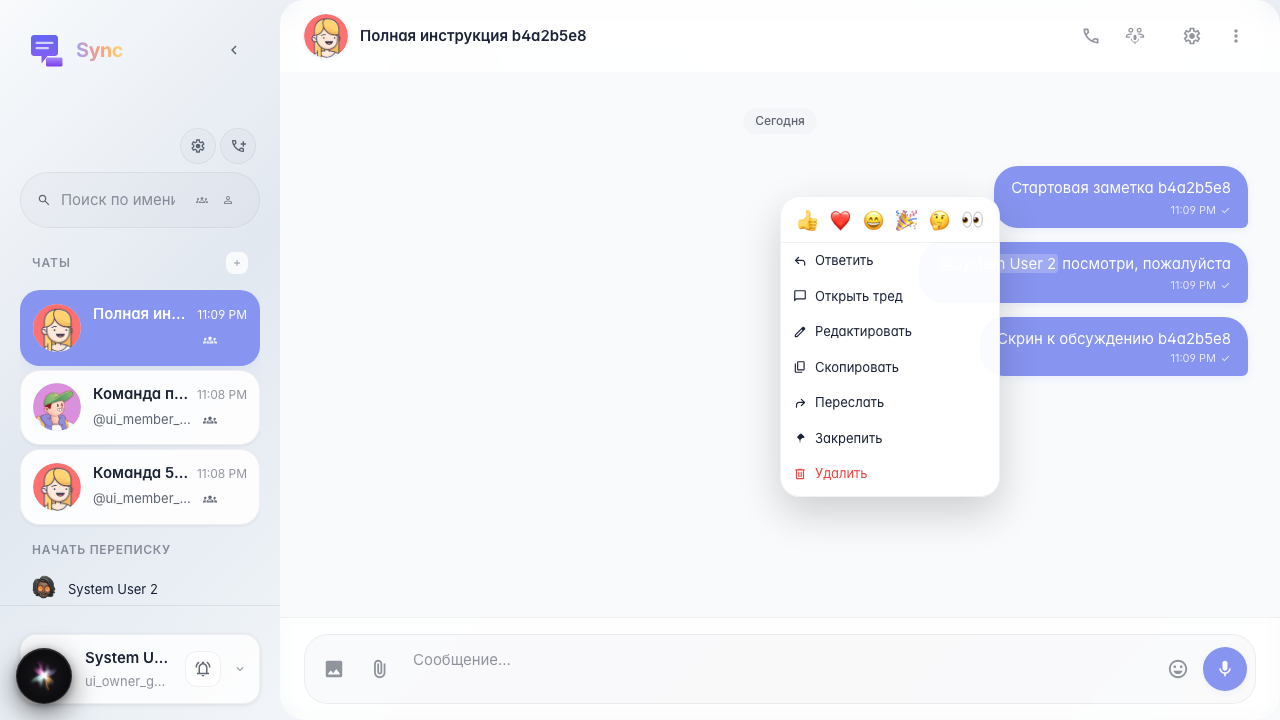
The context menu opens with a right click on a message. It includes quick reactions and actions:
- «Reply» — enables reply mode in the composer;
- «Open thread» — creates or opens a discussion branch;
- «Edit» — available for your own text messages;
- «Copy» — copies the text;
- «Forward» — opens destination channel selection;
- «Pin» — adds the message to the top pin strip;
- «Delete» — available for your own messages.
Step 11. Message pinned
Pins are stored on the channel. The strip at the top shows a preview of the current pinned message and a counter. Clicking the strip scrolls the feed to the pin; if there are several pins, navigation cycles through them.
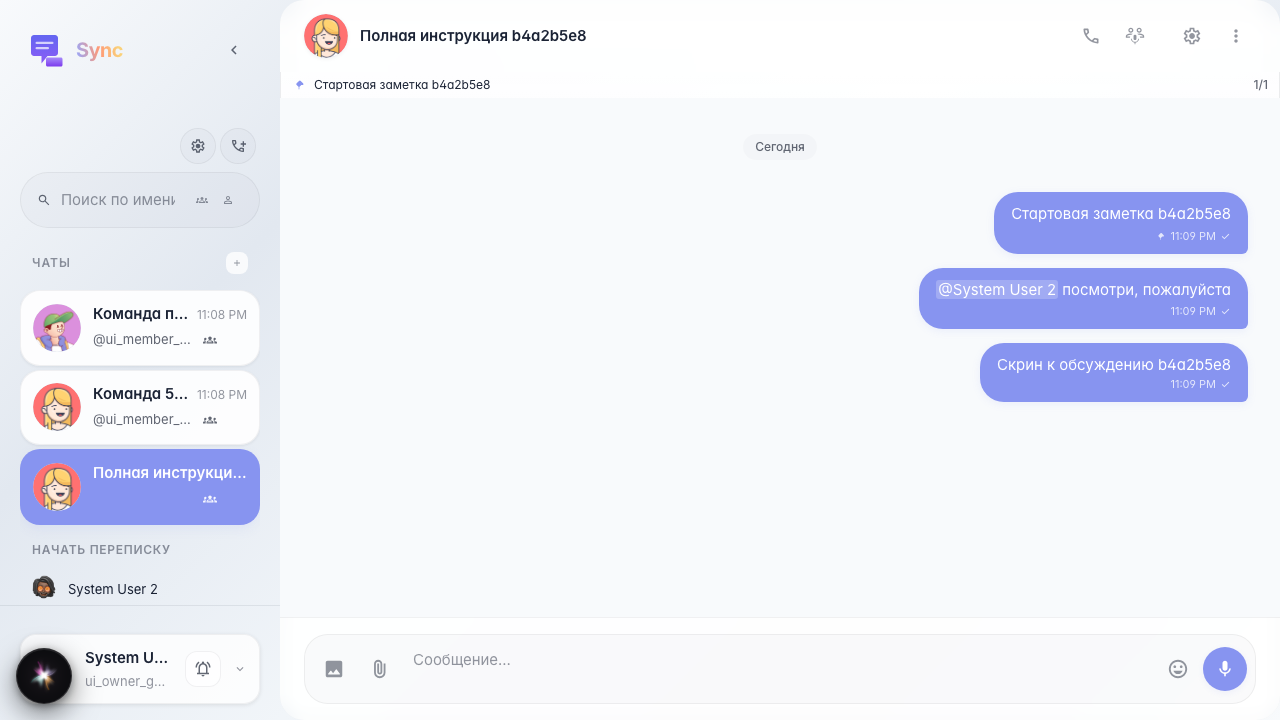
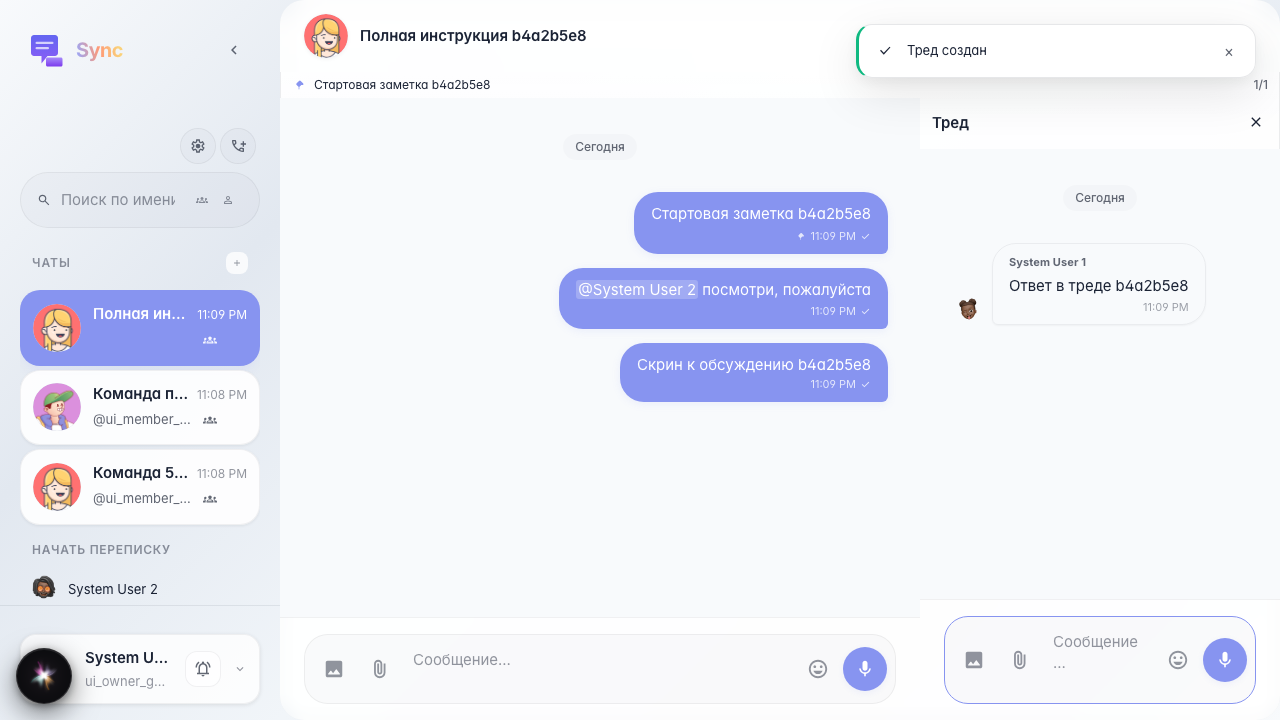
Step 12. Thread opened and reply sent
A thread is a side panel to the right of the main feed. Use it when a discussion should not clutter the shared channel. Replies inside the thread are tied to the root message, but the main chat stays available.
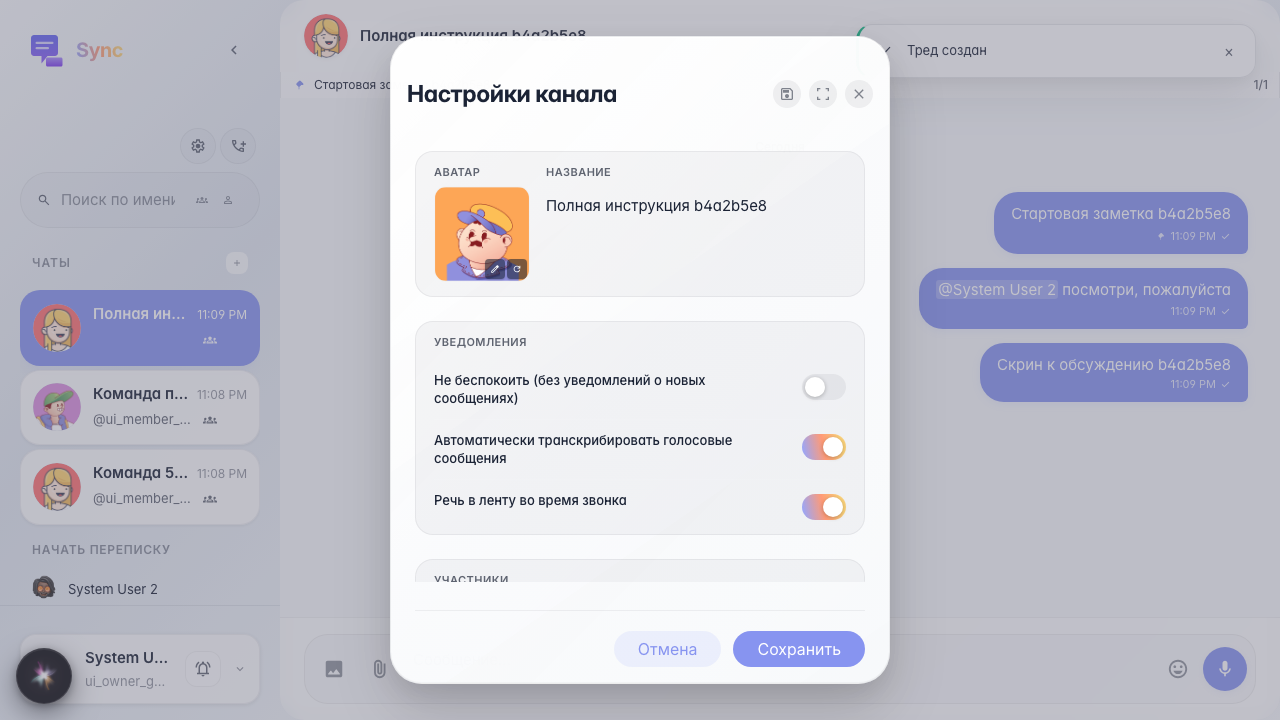
Step 13. Channel settings opened
Channel settings differ from space settings. Here you change local parameters for a specific channel:
- name and avatar;
- «Do not disturb» for notifications;
- auto-transcription of voice messages in this channel only;
- «speech from calls into the feed» for this channel only;
- member list and a button to add new members.
If a user does not see the channel in the sidebar, first check whether they are added as a channel member.
Step 14. Member profile card opened
The profile opens from the sender avatar or from @mention. The card shows the member name and shared channels. It is a quick way to see where else you overlap with someone and jump to the right channel without manual search.
