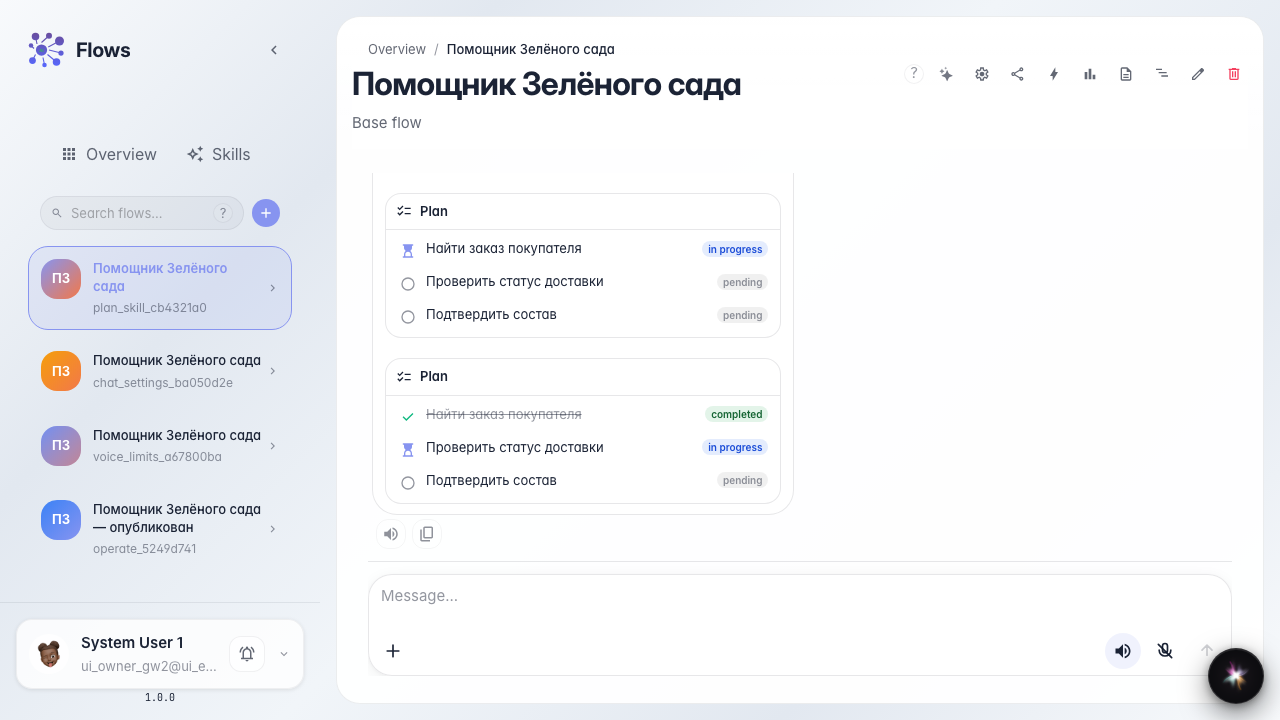
Agent step plan via Skill
What for: this guide shows how to attach the planning Skill so chat shows a visible checklist of the agent's steps.
Problems it solves: long agent tasks are opaque — you cannot see the current step or enable a checklist without wiring tools by hand.
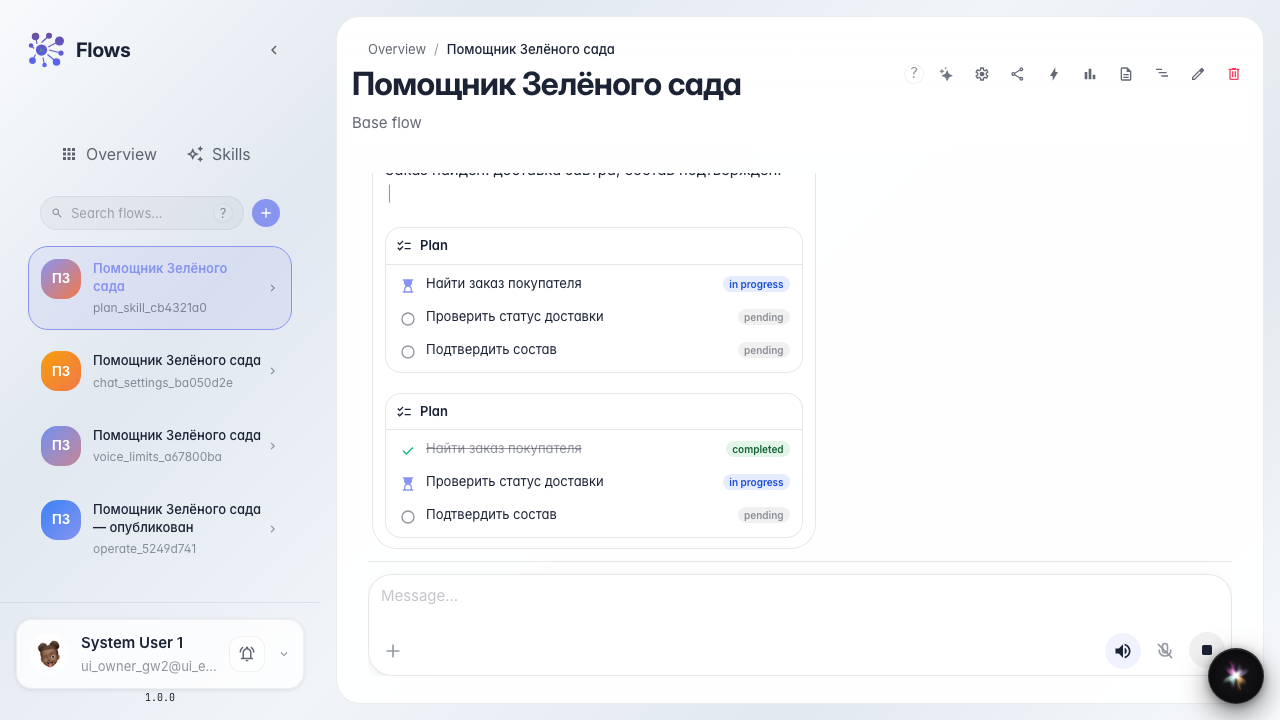
Result: the Green Garden Assistant chat shows a step plan; completed steps are struck through and the current one is highlighted.
Step 1. Create an agent from a template
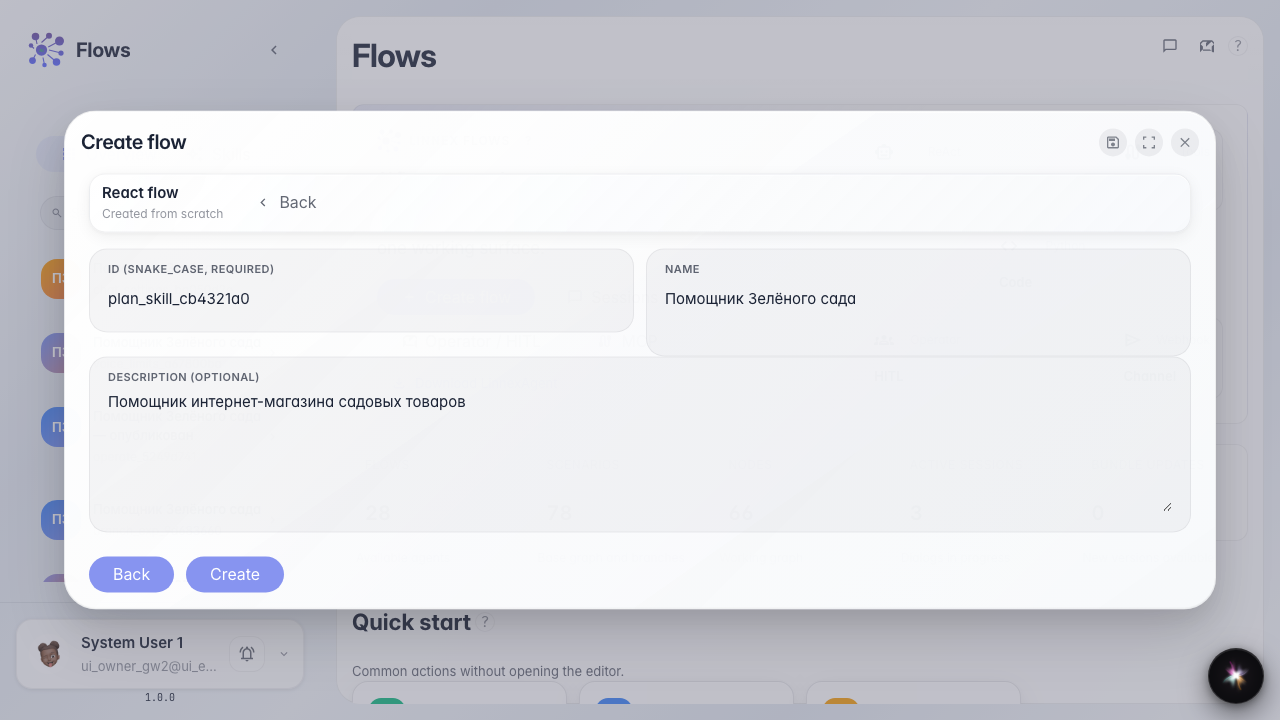
On the Flows home start creating an agent, pick the plain template, and name it Green Garden Assistant. You get an answer node ready for a step checklist setup.
Step 2. Open Studio in Tools mode
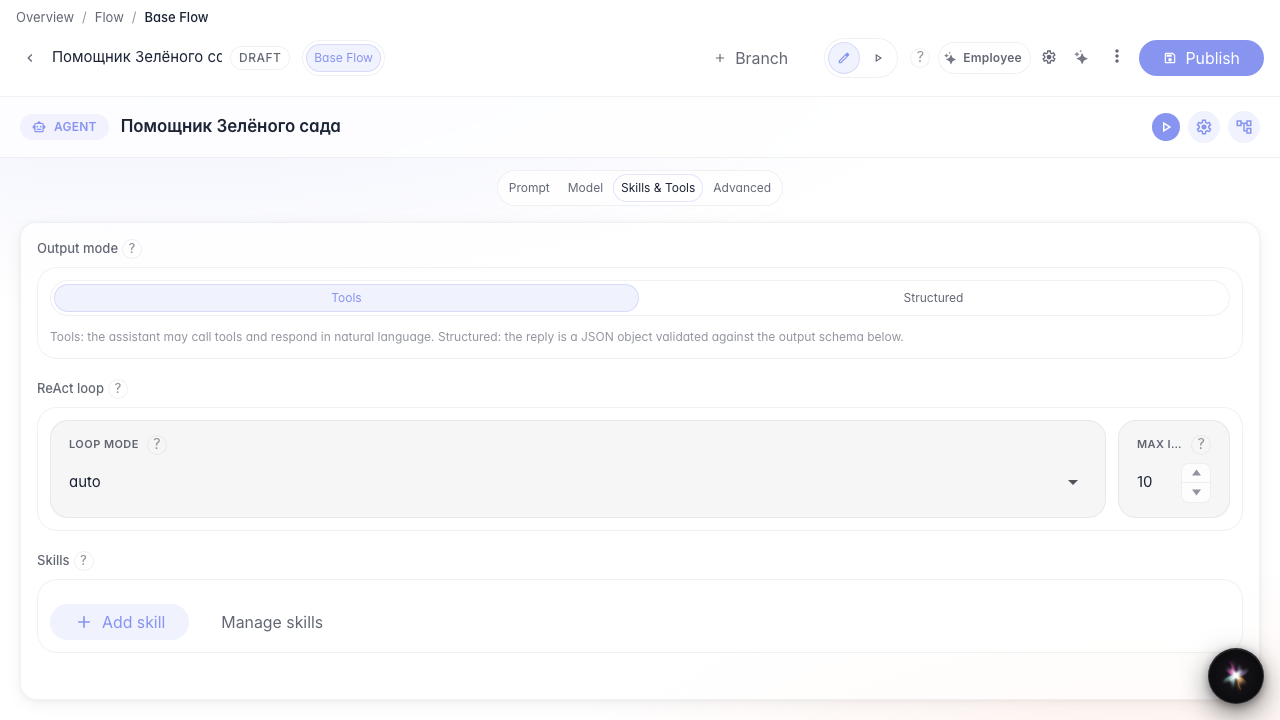
In agent Studio open Skills and tools and choose Tools mode. Only here can you attach the planning Skill.
Step 3. Add the planning Skill
Click Add skill, find agent-planning, and confirm. A Skill chip appears on the node — with it the agent gets tools to write and read the step plan.

Step 4. Publish the agent and open chat
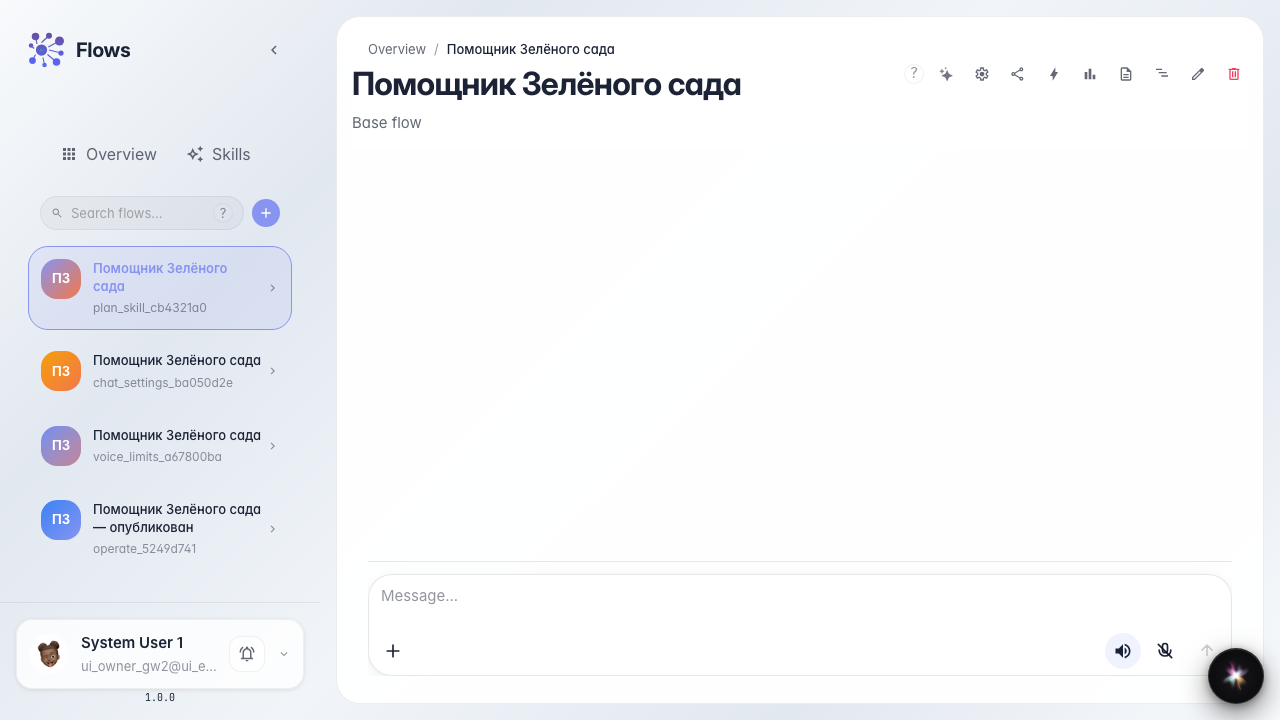
Publish the changes and open the Green Garden Assistant chat. Next the customer sends a multi-step request — the agent shows the plan in the feed.
Step 5. Send a multi-step request and see the checklist
Send a request with several actions (find the order, check delivery, confirm contents). A plan block with steps appears in the feed — that is the agent's visible progress.
Step 6. Check plan progress and the reply
Result demonstration. The completed step Find the customer order is struck through, the current one is Check delivery status; next to it is the agent's short order reply.
Summary. You can attach the planning Skill and follow multi-step progress in chat.