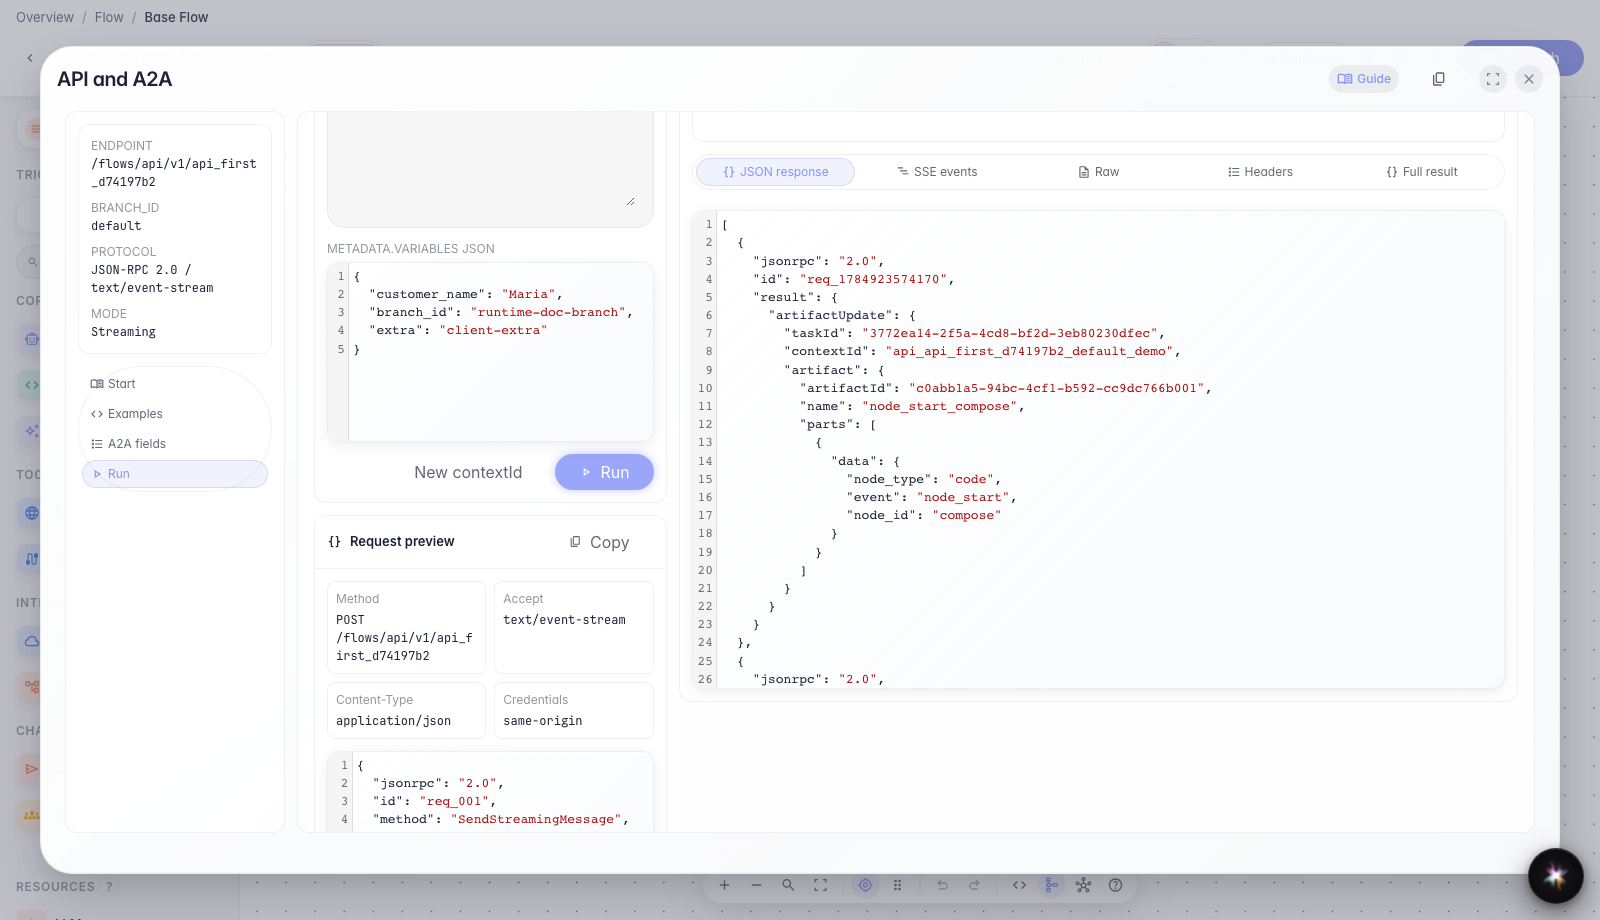
First agent request through API Console
What for: this guide helps you send the first working request to an agent from the Flows editor and see a real API response.
Problems it solves: developers are unsure where to send the request, which JSON body is required, and how to verify the response without a separate client.
Result: you will send a streaming request from API Console and see the agent reply.
Step 1. Open API Console in the editor
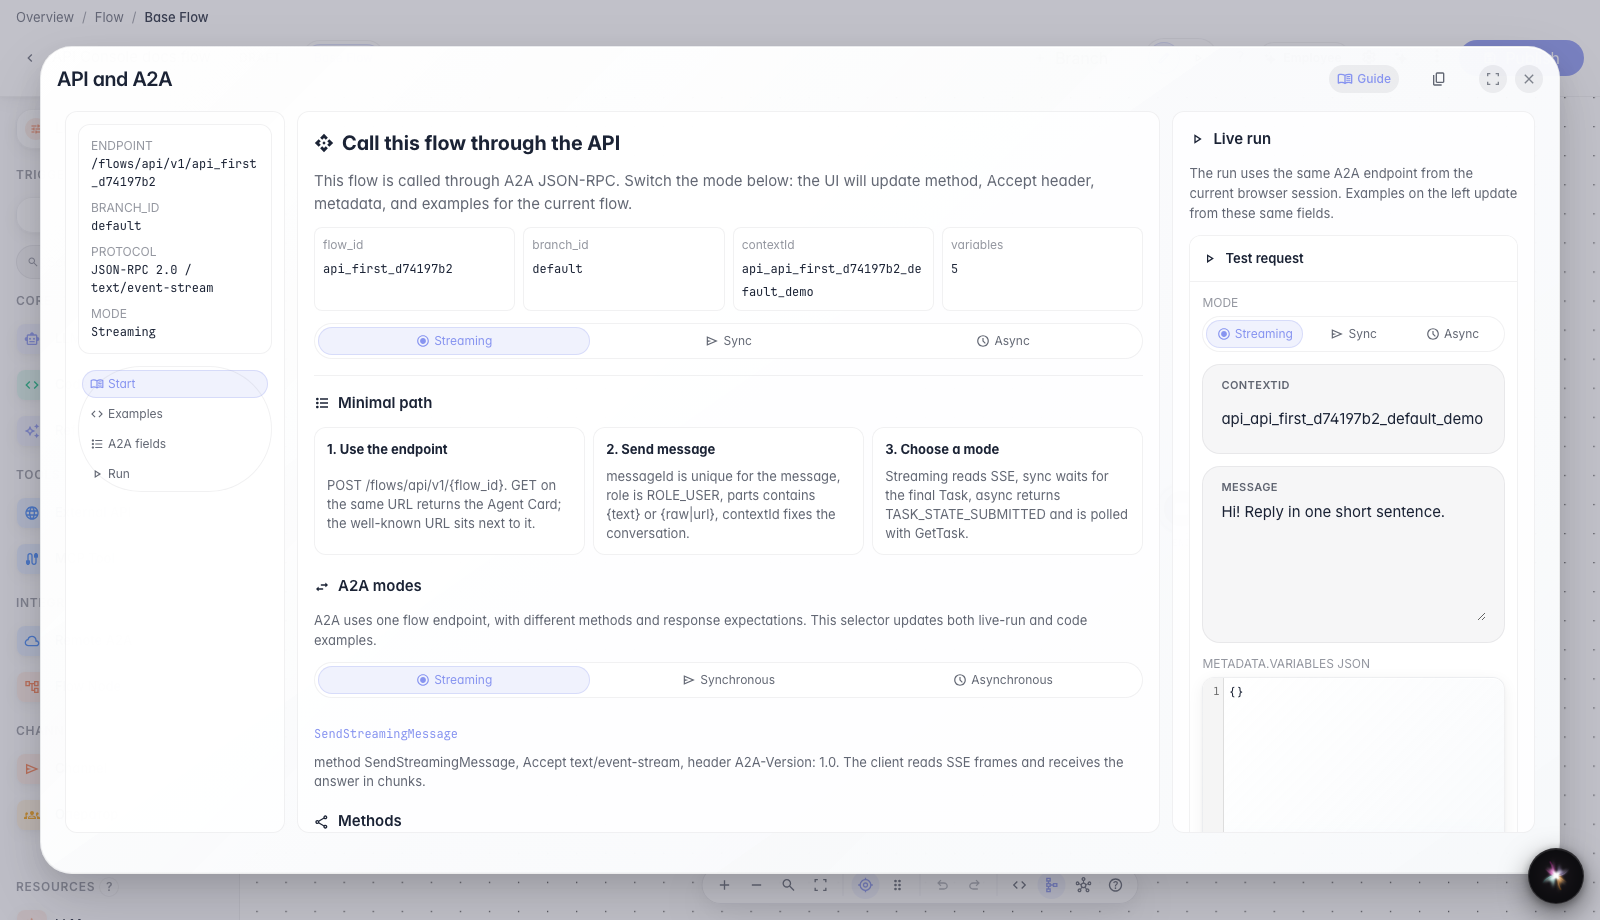
In the editor menu, choose API and A2A. A modal opens with the agent endpoint, guide tabs, and a run workbench — the main integration entry point without a separate Postman collection.
Step 2. Review the Start tab
The Start tab shows where to send the first request: agent endpoint, selected branch, and a sample conversation id. The mode selector changes how the call works: streaming response, one synchronous response, or a background run with later status checks.
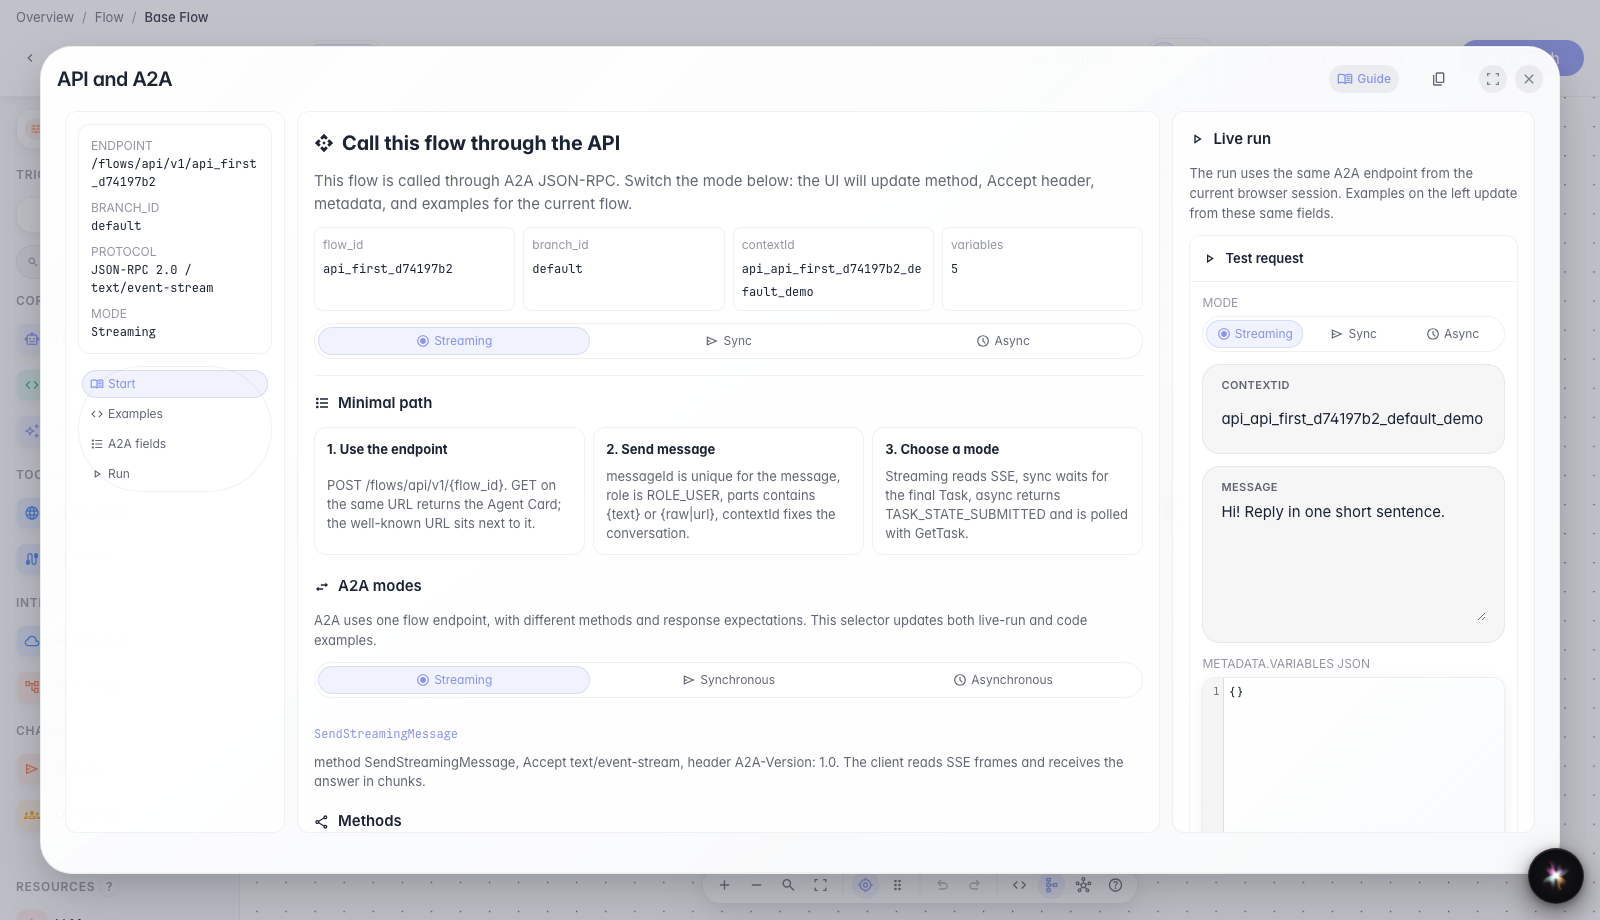
Step 3. Switch to the Run tab
Open the Run tab. Here you set the message text, variables, and call mode before sending a request to the agent.
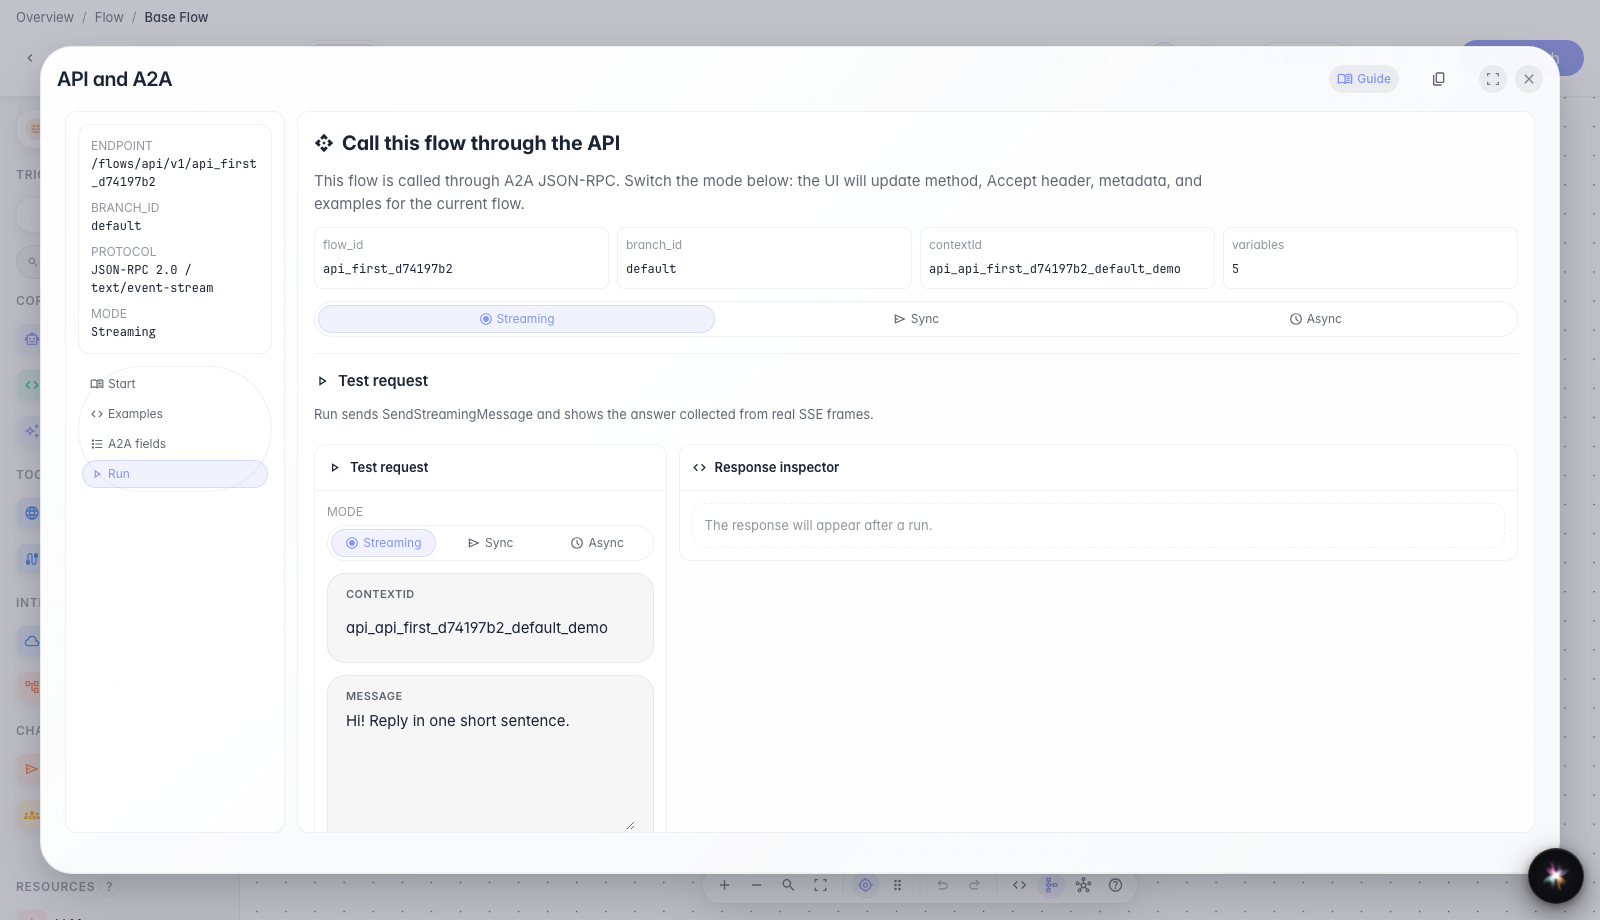
Step 4. Run a streaming request and check the reply
Result demonstration. On the Run tab, send a message and wait for a reply with the verification text — this confirms API Console sent a real request to the agent.
Summary. You now know where to open API Console, what to read on the Start tab, and how to run your first streaming request.