Configure quality review and see the verdict in chat
What for: this guide helps you configure agent answer self-review and understand what the quality-check chip means in the test chat.
Problems it solves: it is unclear what each review-node field does, where to show the result to customers, and how the chip tells you the reply was approved, needs revision, or was blocked.
Result: you enabled quality-check chips and read the verdict with a rationale under the agent reply.
Step 1. Open the agent with a review node
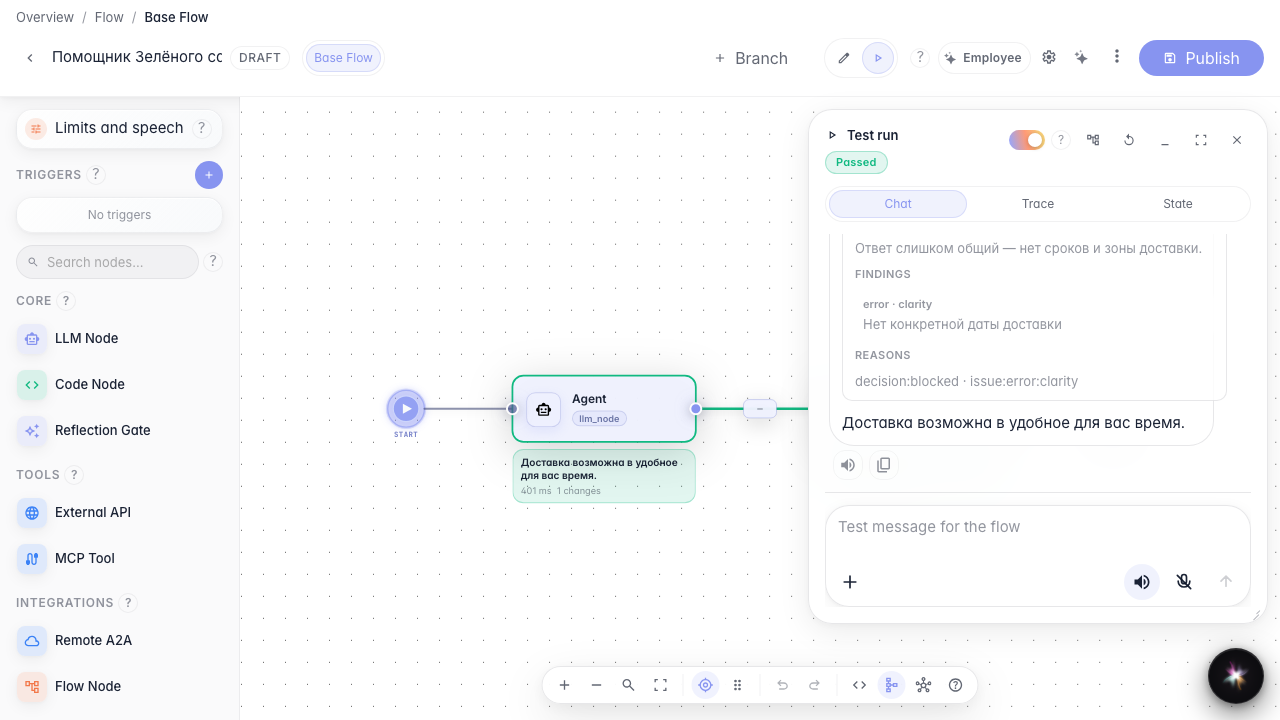
In the Green Garden Assistant editor, a Review node follows the agent. The model drafts a reply first, then a separate critic scores it against your rules. The review result chooses the next path on the graph (approved / blocked) and what a person sees in chat.

Step 2. Enable the quality-check chip in chat settings
Open Agent settings → chat options and enable Show quality checks. This toggle is separate from the review node itself: the node always runs in the graph, while the switch controls whether chat shows a verdict chip. In Run test mode the chip is always visible for debugging. For customer chat keep it on for transparency, or turn it off if chips are distracting.

Step 3. Walk through the review policy fields
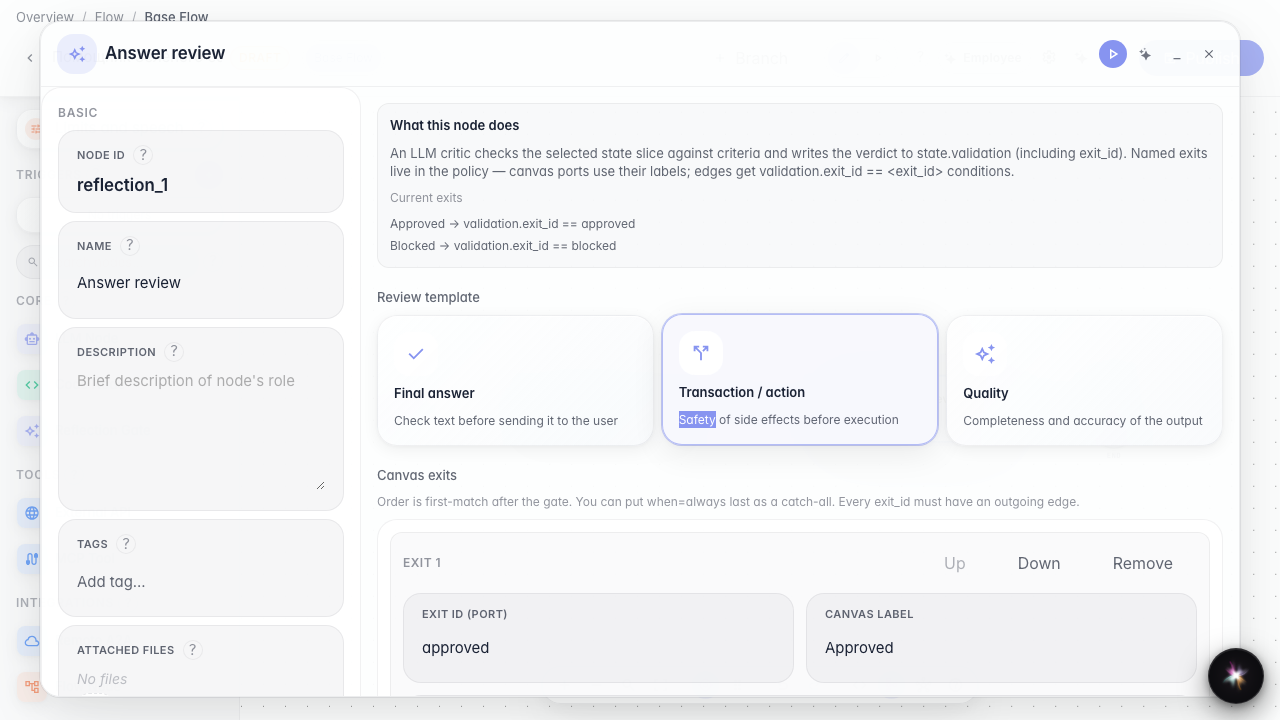
Open the review node properties. Field-by-field:
- Review template — a starter for final answer, transaction, or quality checks; use it as a base and edit.
- What we check — usually Agent reply (the text sent to the customer). You can point at another state slice if you review a draft.
- Instruction for the LLM critic — guidance for the critic model, not customer-facing copy.
- Criteria — explicit rules (for example “must include a delivery date”) and how serious a finding is.
- Min. confidence and Block on severity — if the critic is unsure or finds an error/critical issue, the reply is not approved.
- Canvas exits — port labels such as Approved / Blocked that drive branching after the review.
This example already checks the final answer for clarity. After browsing the fields you can close the panel — the published settings are enough for the test chat.
Step 4. Open the test chat in Run mode
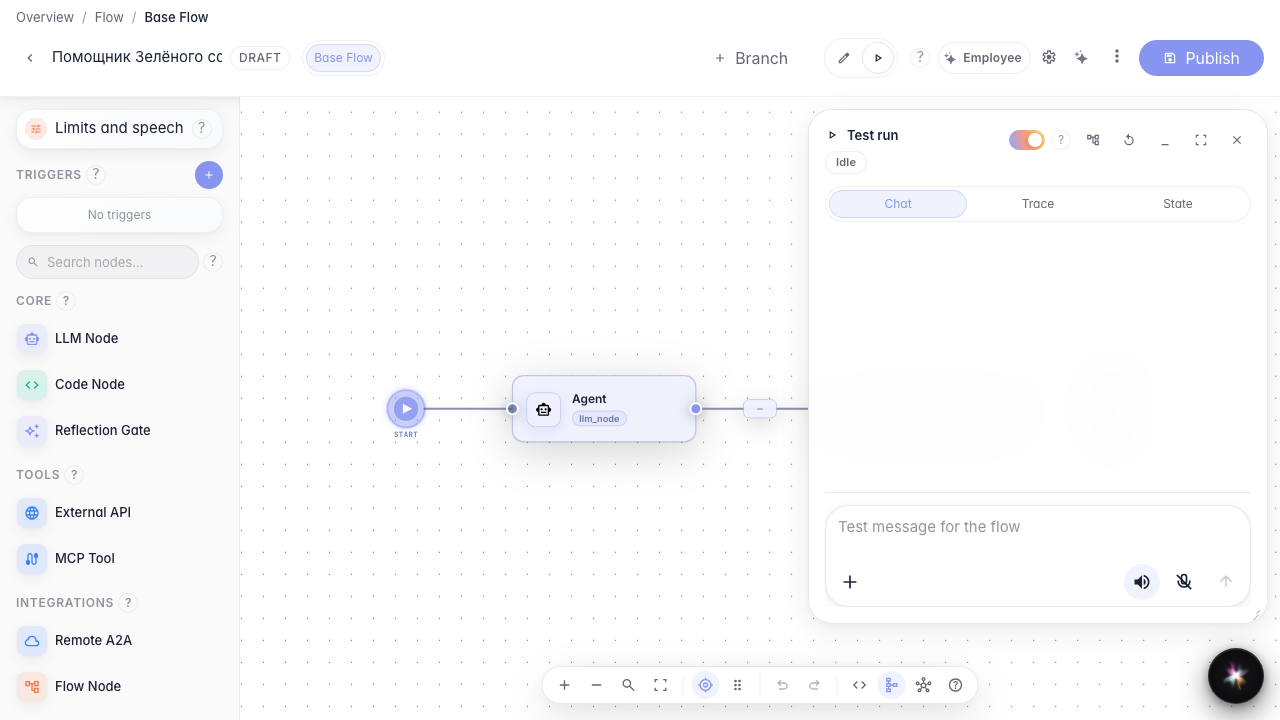
Switch to Run. The same chat you use before publishing for Green Garden customers opens on the right.
Step 5. Send a question and read the verdict chip
Ask about delivery. Under the agent reply a compact quality-check chip appears. Color and label show the outcome:
- green / “Check passed” — the reply is approved;
- yellow / “Needs revision” — the critic asks for fixes;
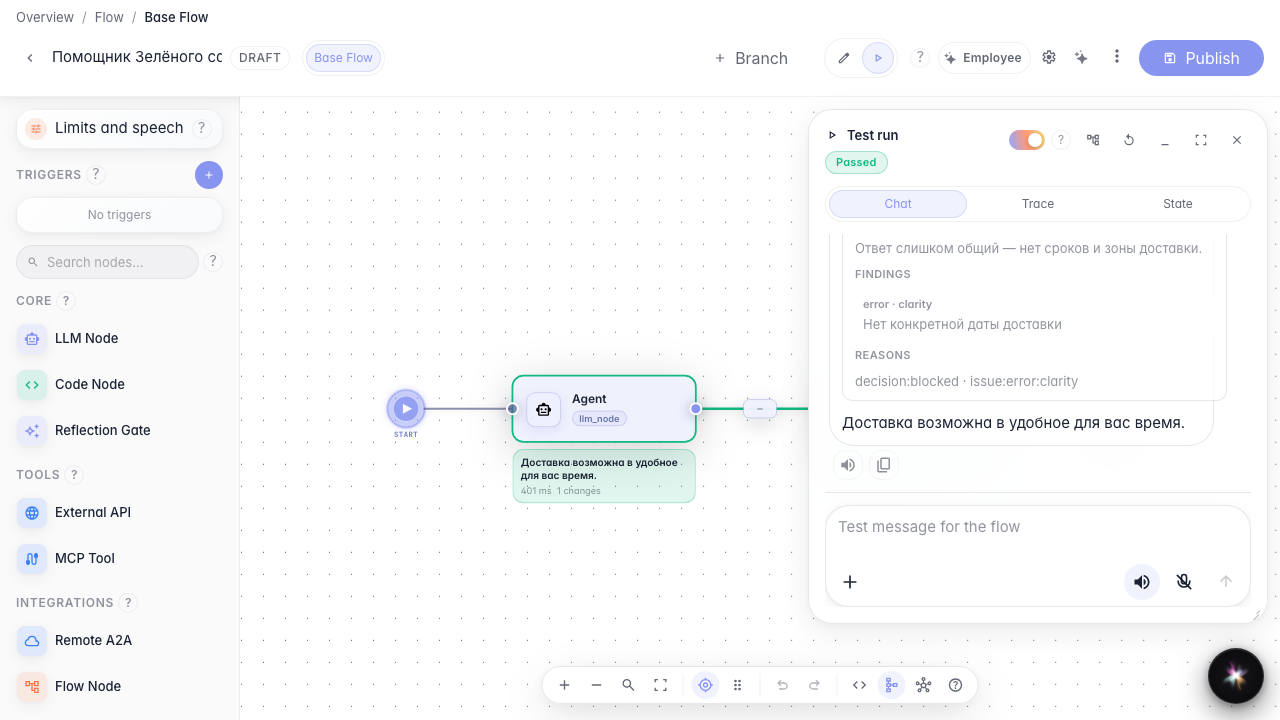
- red / “Blocked” — the reply failed the rules (as in this example: too vague, no delivery dates).
The chip label matches the canvas exit name (here — Blocked).
Step 6. Expand the details and fix the reply from the findings
Result demonstration. When the reply is not approved, the card opens automatically. Inside you get three clear blocks:
- Summary — the critic’s overall verdict;
- Findings — individual issues (severity and wording);
- Reasons — technical block reasons for debugging.
Use them to tighten the agent prompt or review criteria before shipping the scenario to customers.
Summary. You can configure the review policy and the chat visibility toggle, then read the chip and details to see whether the reply passed quality control.